Showing posts with label Sewn Together. Show all posts

Thursday 12 April 2012

I've Got It Covered!

My very first project was a Quilt I made with the help of my lovely Mother.  I knew that she wanted one of her daughters to be able to sew so that she had someone to pass her sewing machine down to in her Will (her words not mine).  Anyway, it turned out to be a really fun project to work on together.  She picked material for her Quilt and I picked material for mine and then she showed me how to do it step by step. The end result was a perfect reflection of me and matches beautifully in my loungeroom.  On top of that, it is soooo warm and cosy, I decided to line mine with a chocolate velvity cord which my mother was a bit concerned about at the time, but it turned out PERFECT!

Planning out the pattern I wanted


The end result


Tuesday 10 April 2012

Mummy Beads

I saw everyone wearing these at a market once and had to buy one for myself.  I later decided that I would attempt to make some for my sister-in-law when she had her baby.  The idea is that as well as looking nice on the mother, they give the baby something to play with while on your lap feeding, instead of pulling at your hair, and teething toddlers something to bite down on while being carried around on your hip, instead of sinking their gums and teeth into you! They are made by sewing a thin strip of material together and filling it with wooden beads and then knotting the material between each bead. Easy!


Sunday 1 April 2012

Cot Caddy


This Cot Caddy has been great for stashing some books and toys in so that when my daughter wakes in the morning she will simply sit quietly and read a book or play with a dolly so that I can get a little more much needed rest.


Even now that she is a little older and can get out of her bed herself, she still likes to sit and read and play for awhile before hoping out of bed in the mornings.


 To see the tutuorial I used to make this, go to http://www.craftinessisnotoptional.com/2010/01/crib-booktoy-holder-tutorial.html


Thursday 22 March 2012

Portable Change Mat

When my sister-in-law, Carley, was getting ready to have a baby I decided to make her a portable change mat because I was always grossed out going into the parents rooms to change nappies because half the time they never had any papertoweling to put down and even when they did, it looked so uncomfortable for them and they slid around everywhere on it.  So after seeing something similar at the North Qld Babies and Kids Markets when living in Mackay, I decided to give it a go myself. 

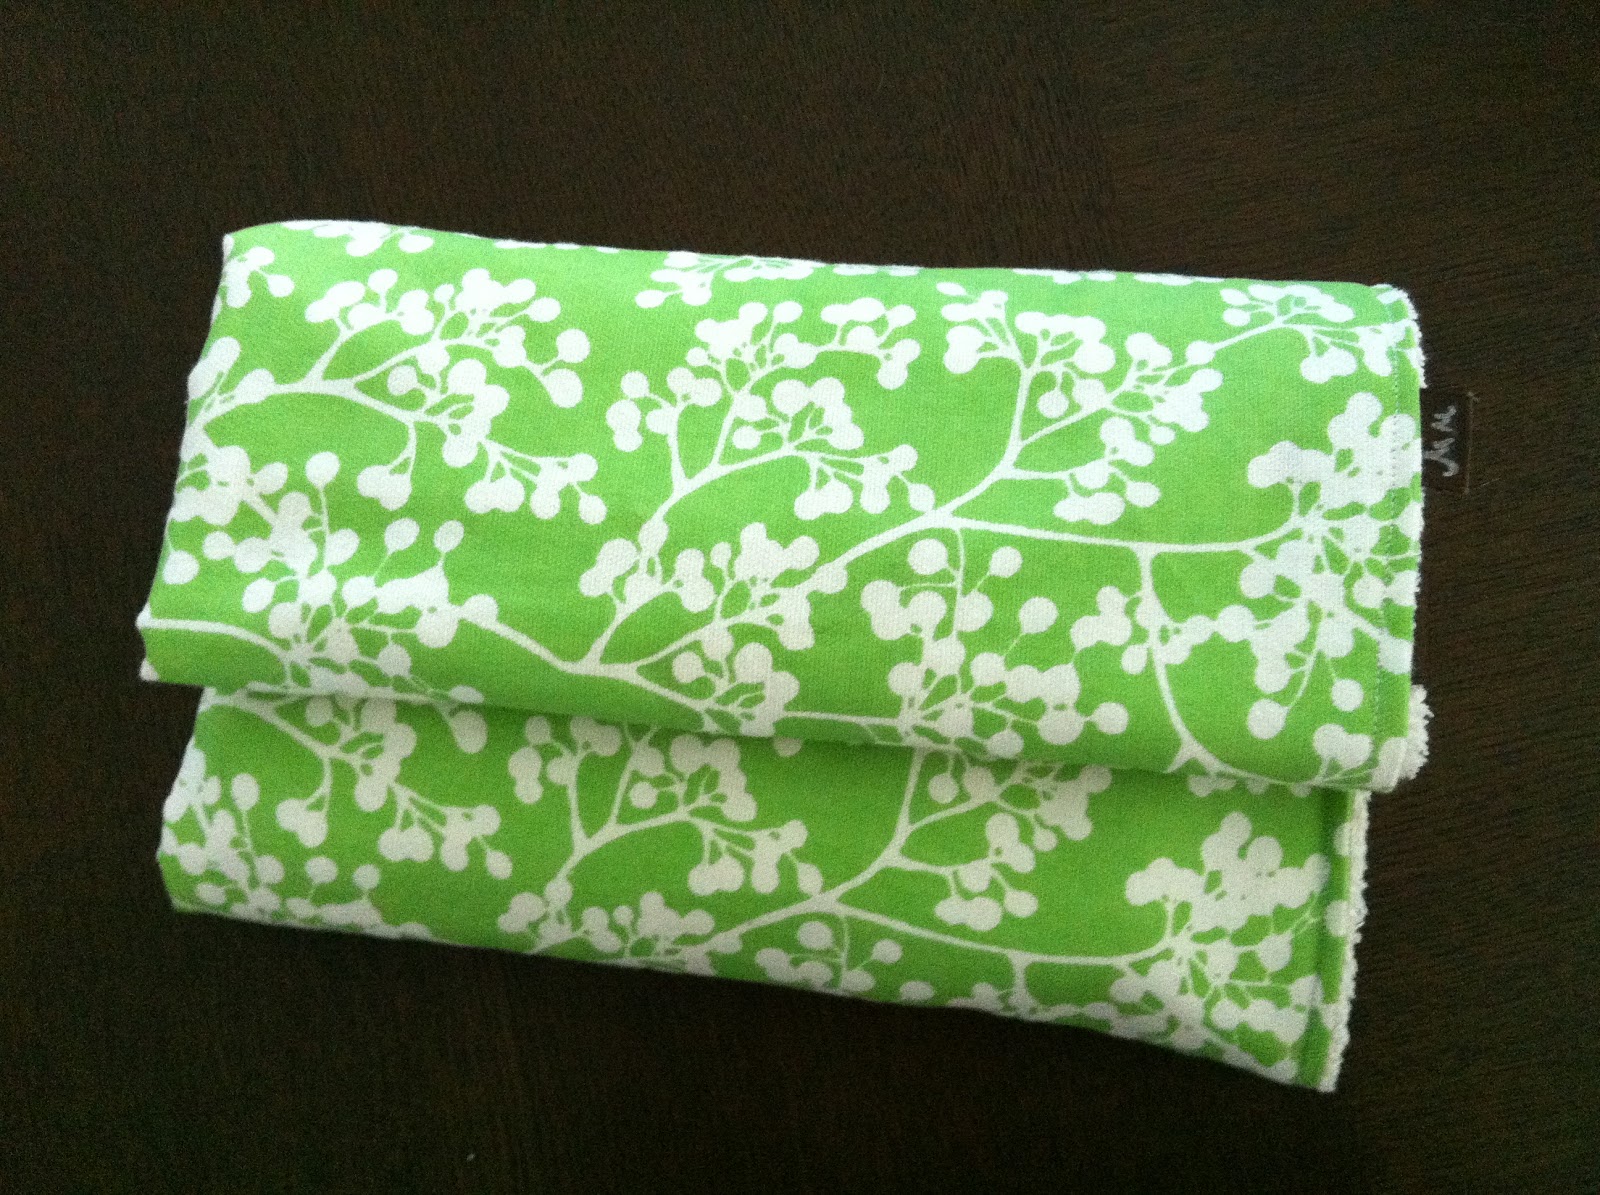
I used terry towelling for them to lie on so that it was comfortable, but also easy to wash.


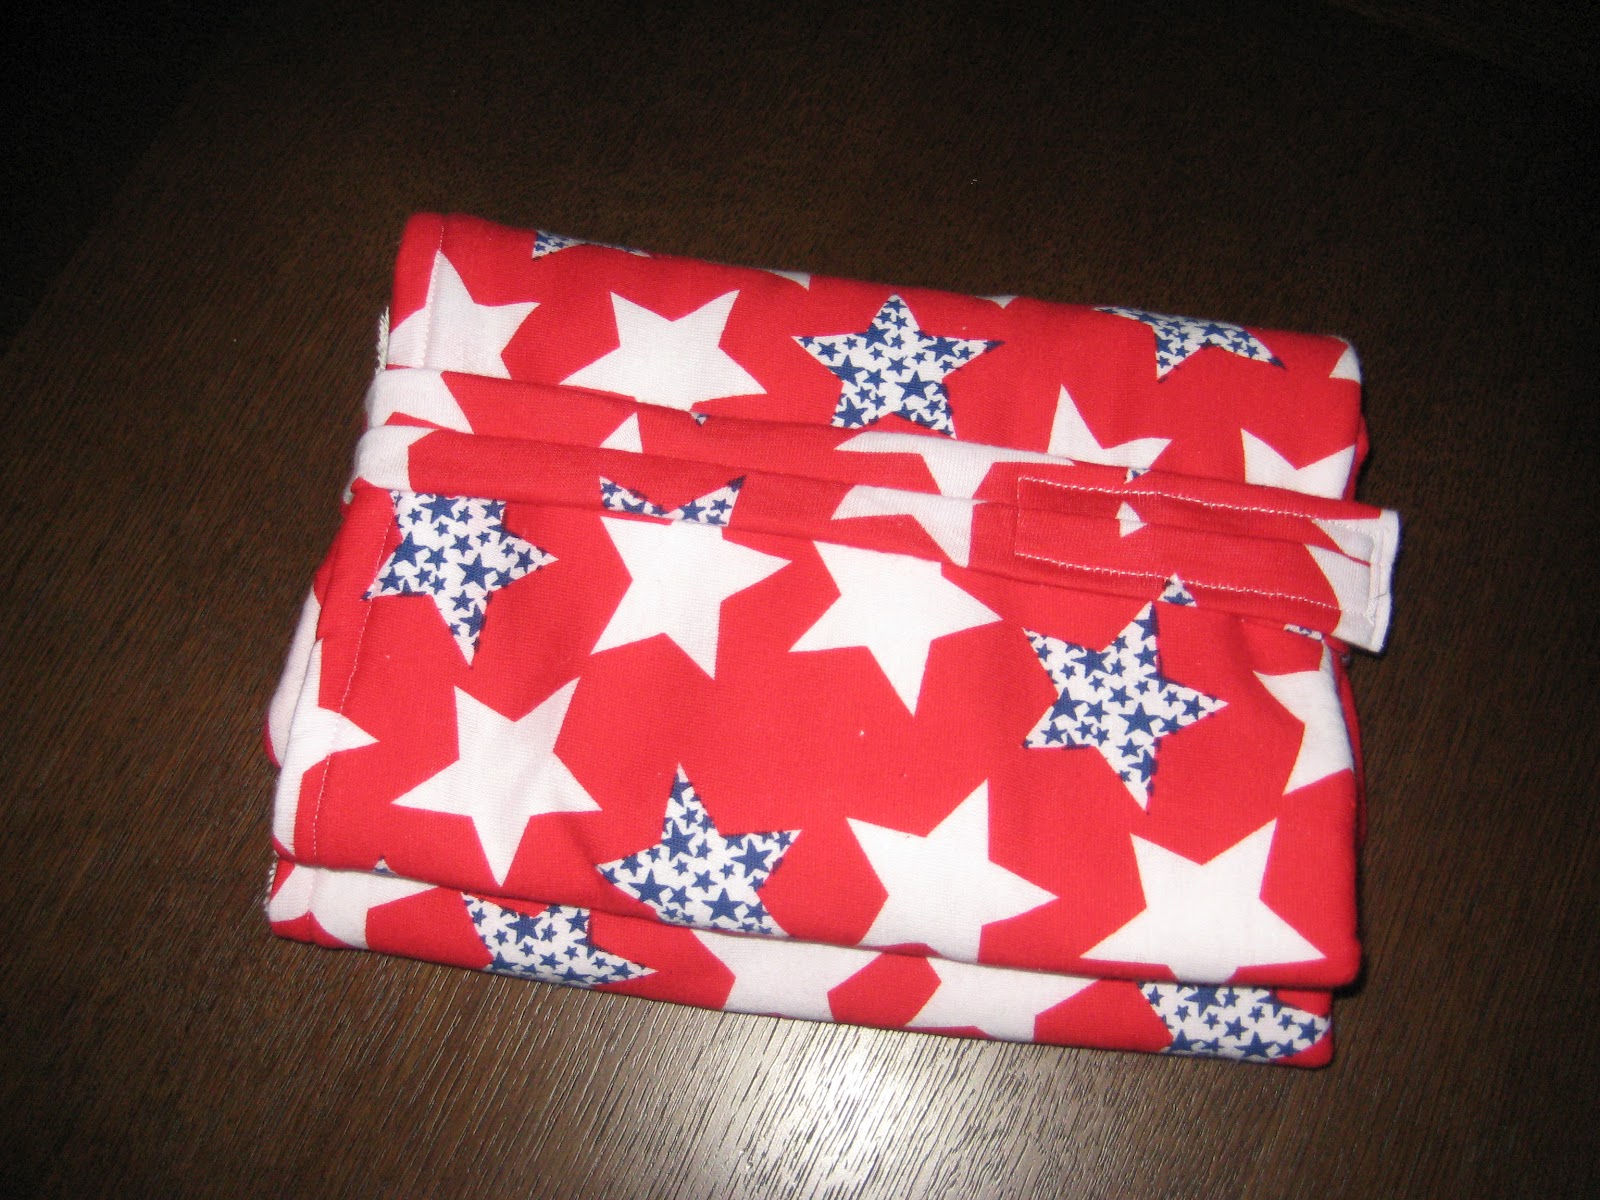
Folds up nicely and attaches with velcro to look like a trendy clutch
There are two pockets at the bottom which hold a wipes case, nappy bags and a couple of nappies so that everything is kept in one place.  There is also a removable crinkly taggie to entertain them while you change their nappy and if they don't want to give it up when your done, then you simply detach it so they can still play with it.


If you want to learn how to make the crinkly taggies then try this link http://www.joyshope.com/2009/05/baby-crinkle-square-tutorial.html


I also made an easier version for my friend Brooke's little cutie, Coops, which was just a change mat cover instead which simply straps together under the change mat mattress using velcro and also has a detachable crinkly taggie.


Little Coops loves it!

Money Cuff

I made these Money Cuffs for my boys and they love them.  They use them all the time especially if we are heading to the shops.  No more wallets getting left on toy shelves....and believe me that has happened quite a few times.


For a step-by-step tutorial on how to make this yourself, follow this link to

http://www.lemonsqueezyhome.com/2010/09/lunch-money-cuff-tutorial.html